Knight Customs
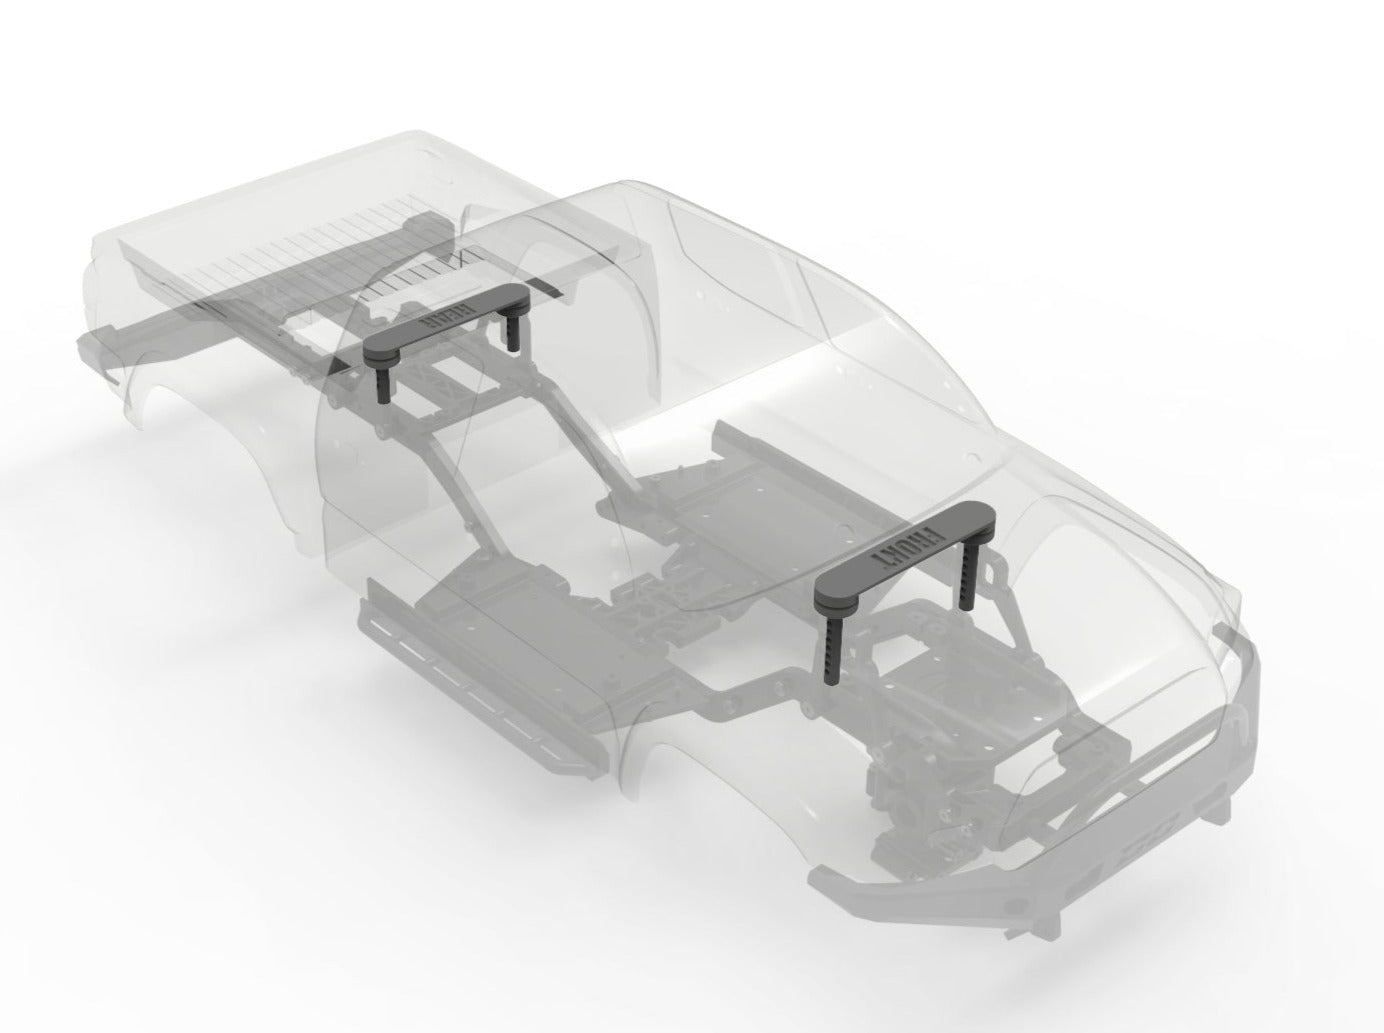
Knightrunner magnet mount plates
Knightrunner magnet mount plates
Couldn't load pickup availability
Or subscribe & save
Brand : Element RC
Model : Knightrunner
Genre : Crawler
Scale : 1/10
KCKR1035 Knightrunner magnet mount plates. For the Element RC Knightrunner. These plates make is easier to create magnet mounts for your Knightrunner body.
We recommend using the following magnets glued in place with Shoe Goo (both sold separately).
1/2 x 1/4 x 1/8 Inch Strong Neodymium Rare Earth Ring/Donut Magnets N48 (20 Pack) Link:
totalelement.com/products/1-2-x-1-4-x-1-8-inch-neodymium-rare-earth-ring-magnets-n48-20-pack
Installation steps.
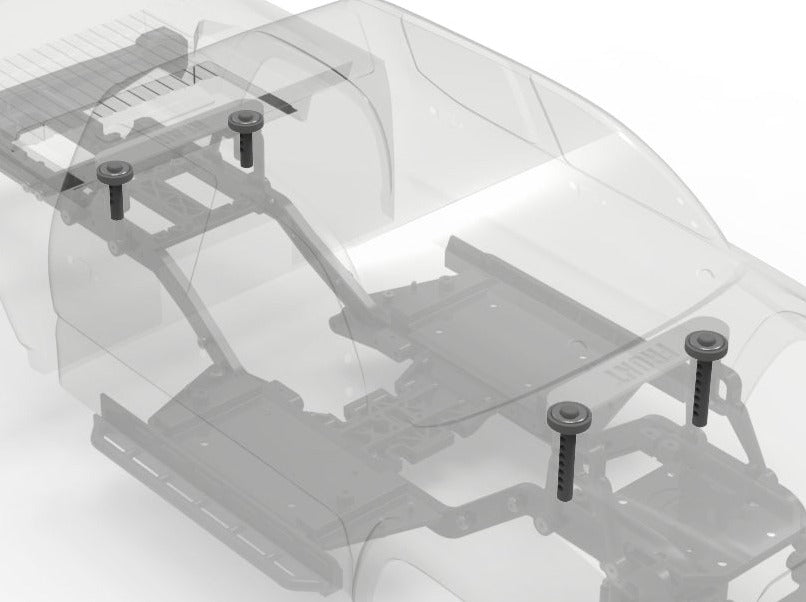
1. Install replacement body posts into the chassis. Short in the rear, long in the front.
2. Using Shoe Goo or E6000 glue one magnet to the top of each body post.
3. Place a second magnet on the top of each body post and lightly scuff the top surface of the magnet
4. Using Shoe Goo or E6000 glue the mount plates on top of the magnets. Be sure to fit the Front and rear mount plates in the right location and have the top of the text towards the front bumper.
5. Once dry, apply more Shoe Goo or E6000 to the top of the mount plate and then place body in the desired location.
6. Allow to glue to fully cure overnight before removing body for the first time.
7. Magnets should now be mounted firmly to the underside of the body.
To see the install in action, check out RC Girl's how to video below (6.31 mark):
The STL 3D files and G-codes are included in the download. The G-codes can be sent directly to your printer and come with our recommended settings, orientation & supports for printing in PLA filament. These G-codes are a recommended starting point for those new to 3D printing.
G-codes are Included for the Bambu Lab (P1, X1) & Prusa series of printers. The Prusa G-codes should also work on other printers such as the Ender series of printers that have a print bed 20x20cm or larger.
Share


